Tenkara Guides
The Best Tenkara Fly Fishing Experience from the Most Experienced Tenkara Fly Fishing Guides.
SCROLL DOWN
Tenkara Guides
The Best Tenkara Fly Fishing Experience from the Most Experienced Tenkara Fly Fishing Guides.
who we are
Tenkara Guides, LLC is the first and oldest operating guide company dedicated to tenkara and fixed line fly fishing. We provide first rate guided and instructional experiences using unique, effective, easy to learn methods of fly fishing. Our professional guides will design a personal trip customized to your fly fishing goals, level of experience, and craving for adventure.
A Licensed & Insured Fly Fishing Guide Company
Guided Trips & Schools
The Best Tenkara Fly Fishing Experience Around
Guided Trips & Schools
The Best Tenkara Fly Fishing Experience Around
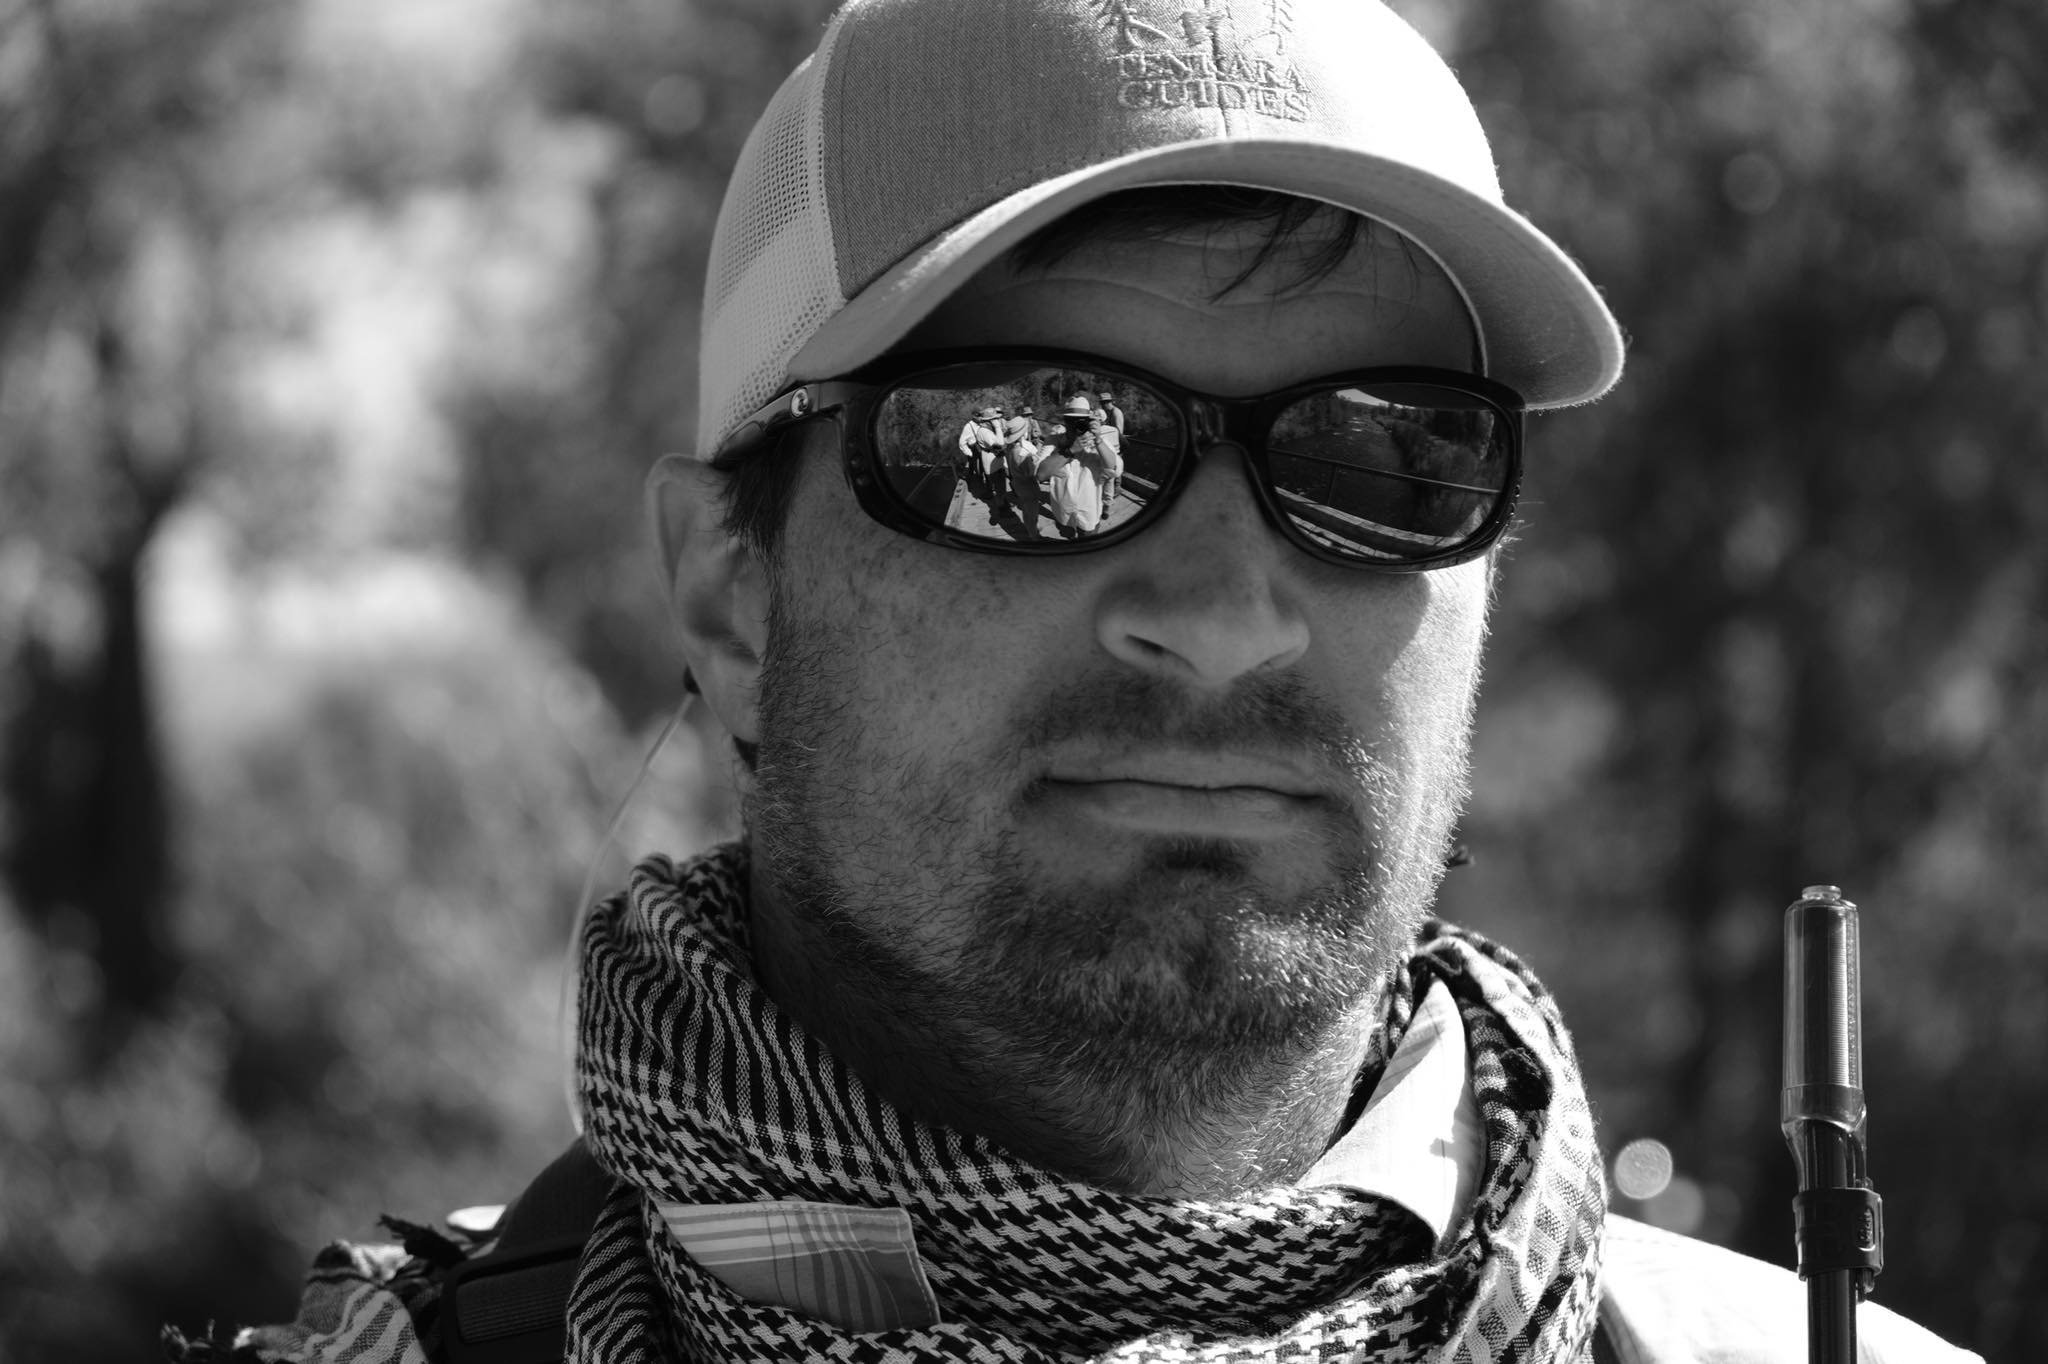
The Guides
The Most Experienced Tenkara Guides in North America
The Guides
The Most Experienced Tenkara Guides in North America